Articles · AI Design
When you only want to thin an icon stroke by 0.5, Figma's agent now draws lines as strokes, not fills
Figma's November 5 release notes list four improvements to vector illustrations and icons made by the agent: strokes for line work, layers grouped by function, existing art as a style reference, and a structure ready for Figma Motion. Includes where Figma's own pages disagree.
Translated from the Korean original. Read in Korean
A line appeared in Figma's release notes on November 5. Vector illustrations and icons made by the Figma agent got better, and the first item is: "strokes, not fills, for line work."
You know the moment when a set of twelve icons is done and one of them looks heavier than the rest. If an icon is drawn with a stroke, you change one number. If it is drawn as a filled shape, the outline is geometry, and changing the thickness means redrawing it. This update applies that difference to what the agent produces.
I opened the release notes, the help center and Figma's icon page on November 9 and wrote down only what they say. I did not generate icons with the agent myself, so I make no call on output quality. What the documents say and what they leave out are kept apart below.
Four improvements in the release note
The November 5 entry says vectors from the agent are now easier to edit, to match to a style, and to animate. In plain terms:
| Improvement | What it is for |
|---|---|
| Independent layers grouped by function | Pick and edit just the eye, the mouth or the background |
| Existing illustrations as style references | Generate more parts or icons in the same hand |
| Strokes for line work, not fills | Change weight and end caps without redrawing |
| Clean layer structure | Ready to animate in Figma Motion |
Source: Figma Release Notes, entry dated 2026-11-05 (checked 2026-11-09). The entry does not list plans or steps.
The next day, a November 6 entry covers Select area, the AI image editing tool. You can now click an object and it selects it automatically, with no tracing by hand. It is listed for the macOS desktop app only.
Stroke versus fill
There are two ways to build a vector icon: draw a line and give it a weight, or build the thick shape as a closed path and fill it.
- Stroke: weight, end caps and corner rounding are numbers. Matching weight across a set is easy.
- Fill: scaling the icon scales the line with it. Changing weight alone means editing the shape.
That is why icon sets are usually easier to manage as strokes, and why the release note singles out line work. The documents do not say whether the agent always draws strokes, or what happens when you need a filled glyph style.
Style reference: paste in what you already have
The second item uses art you already own as the guide. The help center explains how to attach files to the agent: in the prompt box choose Attach Figma files, paste a design URL, add several designs, or drag and paste images and files. You can also paste frames and images straight into the chat.
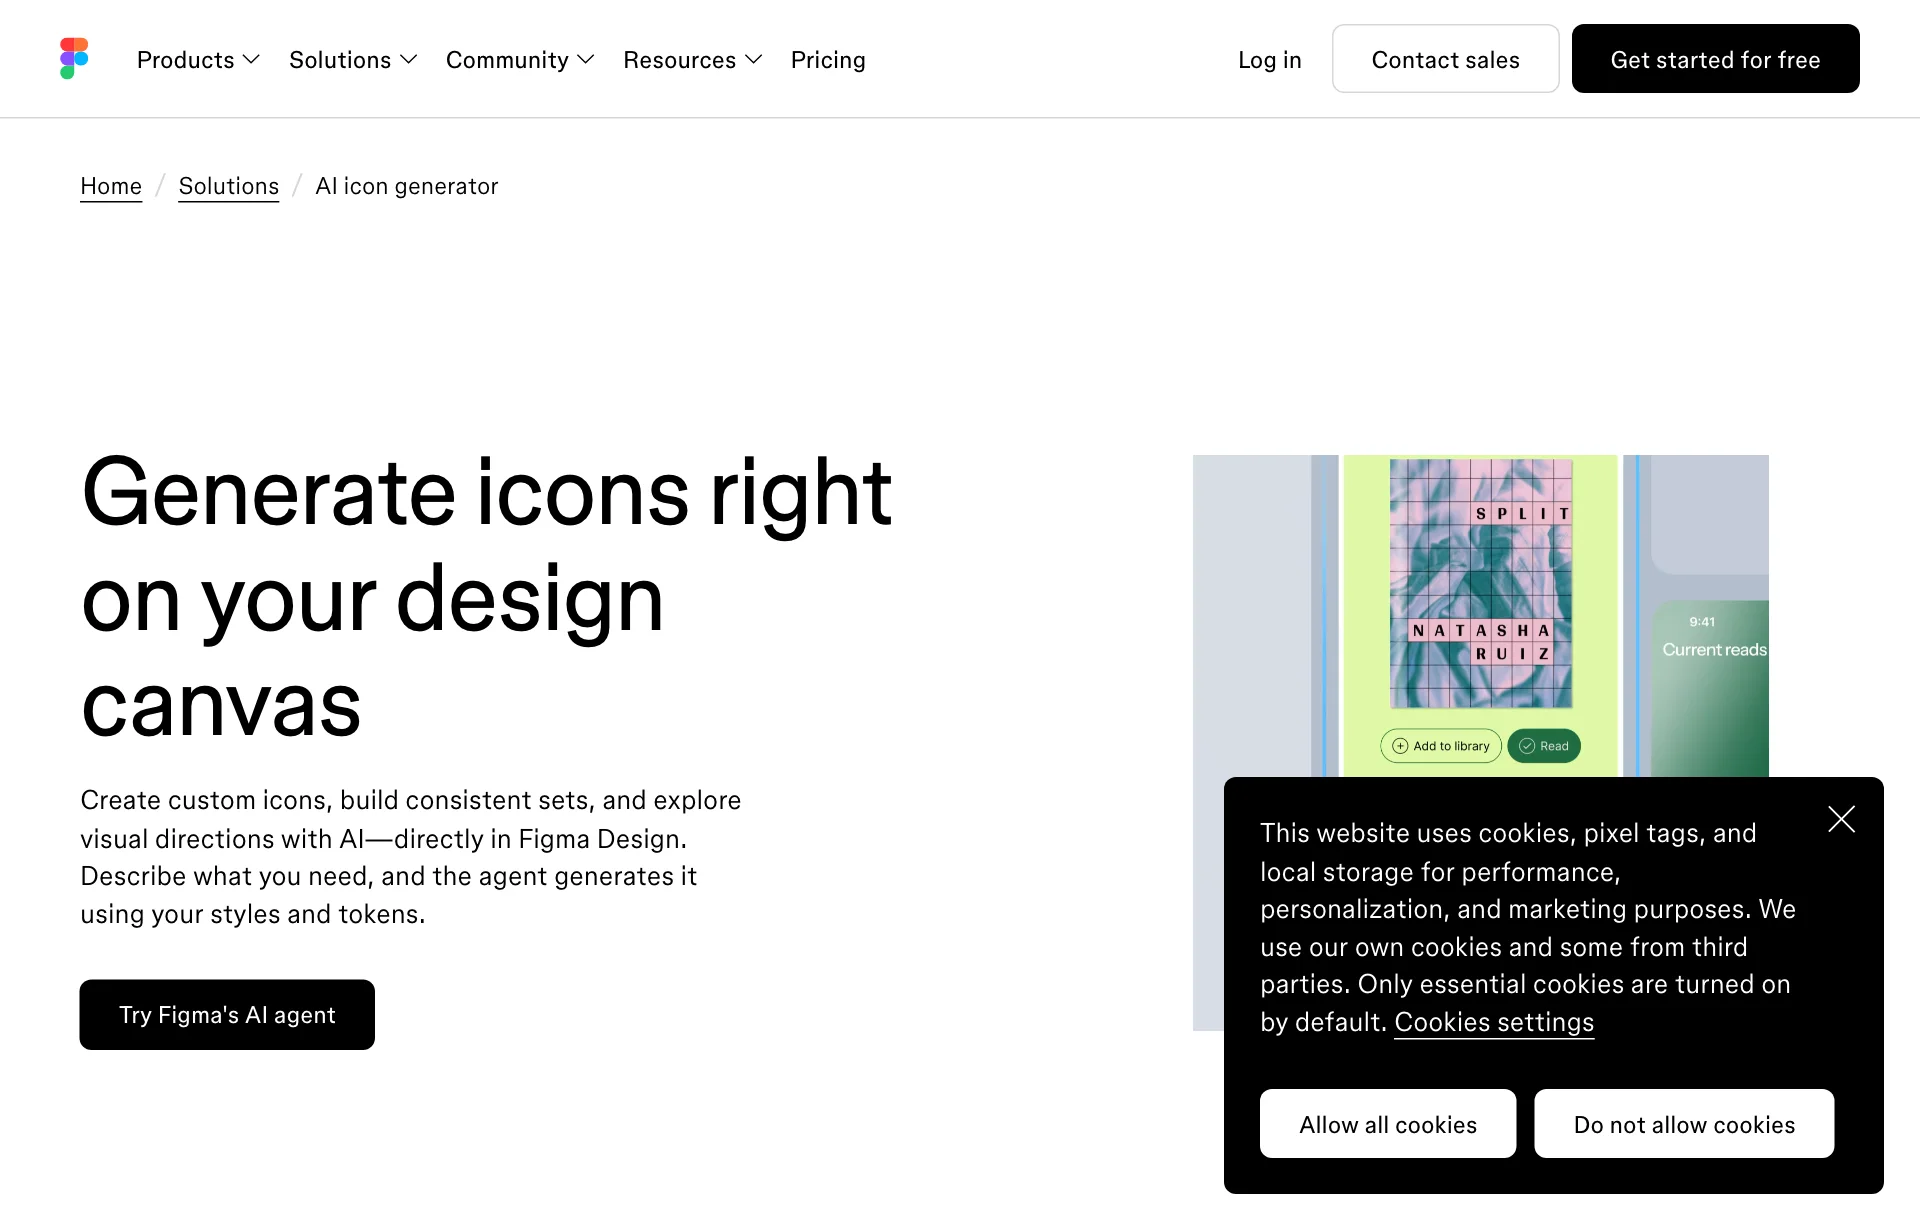
The icon page's steps are short:
- Choose Agents in the left rail or press CMD + Enter, and add a frame for the icons.
- Describe the icon and mention your design library so it uses your real styles.
- Review on the canvas and refine in the same thread, or open a parallel thread for another direction.
- Prompt again to change stroke weight, scale or style. The icons stay editable vector layers, so you can adjust them by hand.
Pointing at a library makes the agent apply your stroke weights, corner radii and style tokens (the color, type and size rules) rather than generic defaults, according to the page. Export works in any format Figma supports; SVG, PNG and PDF are the examples given.
Where Figma's own pages disagree
Stop here, because the documents contradict each other.
- The agent help page (Work with the Figma agent in design files) marks both "Vector editing and Draw tools" (create or edit vector illustrations, icons, paths, points, shapes or boolean operations) and "Create icons" (generate icons, modify geometry, create icon sets) as Coming soon. What it lists as supported is turning static images into editable vector layers.
- The icon page describes the agent creating icons, step by step.
- That page also says the agent does not use AI credits during the open beta. The agent's move to paid credits was covered in our October 18 piece, so that sentence is probably out of date. I could not confirm it.
A release note dated November 5 announcing improvements suggests the feature is live, but it is unclear whether the Coming soon label on the help page is stale or only part of it has shipped. The fastest check is to open the agent in your own account and try it. The help page gives no credit amounts for vector tasks either; it says usage varies with task complexity.
The image-to-vector feature that is documented as working
What the help center clearly lists as supported is converting images to vectors, for hand-drawn symbols, lettering, photos and illustrations:
- Select an image layer.
- In Figma Design, Draw or Slides, click More > Vectorize in the secondary toolbar. In Figma Buzz, use Edit > Vectorize in the inline toolbar.
- Refine with Recolor: Full color (number of colors), Grayscale (number of grays) or Black and white (threshold).
- Click the checkmark in the secondary toolbar to save.
Complex or low-resolution images may not convert well; the page suggests Remove background or Boost resolution first. It works on Starter, Professional, Education (not K-12), Organization and Enterprise plans, and you need edit access. The page does not say whether the result is strokes or fills, so treat it as separate from the November 5 improvement.
For vibe coders who need icons
Icons are usually the first thing that looks off in a screen built with Lovable or Claude Code, because icons pulled one by one from different sets carry different line weights. If the agent draws icons as strokes, you could export SVG and set one stroke-width value in code to even out the whole set. That is my inference from how SVG works, not something the documents state. Open an exported file and check that the lines survive as strokes.
Figma also has a path onward into code, as in our shaders and code layers piece, but nothing in these sources links icon SVGs to that flow.
A sequence to try today
Do not ask for twelve icons at once. This order also saves credits.
1. Put two reference icons in the file. Paste two icons you already use into a frame. They become the style reference.
2. Ask for one. A sample prompt, which I have not run:
Draw one settings icon with the same line weight and end caps as the two attached icons. No fills.
3. Open the result. In the layers panel check that it is a stroke and that the weight number matches your reference. If it came out as a fill, stop and ask once more. This work spends credits.
4. Widen to a set. Ask for the rest in the same thread and fix the one that still looks heavier by hand.
Sources: Figma Release Notes, Work with the Figma agent in design files, Convert static images to vector layers, Figma: AI icon generator (all checked 2026-11-09).